Flat roofs are a popular choice for many homeowners due to their affordability and versatility. However, like any roofing system, flat roofs are prone to wear and tear over time, leading to leaks and other issues. Fortunately, many repairs can be done by homeowners themselves with the right tools and know-how. In this guide, we’ll explore five DIY methods for repairing a flat roof, saving you time and money in the process.
Inside this blog:
- Common signs that your flat roof has damage
- 5 DIY ways you can repair your flat roof
Keep reading to learn more about flat roof repair and how you can fix up your roof all by yourself!
Inspecting Your Flat Roof 🕵️♂️
Before diving into repairs, it’s essential to conduct a thorough inspection of your flat roof to identify any areas of concern. Here’s what to look for:
Cracks or Tears
Inspect the surface of your roof for any cracks or tears in the roofing material, as these can worsen over time and lead to significant water damage if left unaddressed.
Pooling Water
Check for areas where water is pooling on the roof, as this can indicate drainage issues that need to be resolved to prevent water damage and deterioration of the roofing material.
Loose Flashing
Examine the flashing around vents, chimneys, and other penetrations for signs of damage or loosening, as loose flashing can allow water to seep into your home and cause leaks.
Blisters or Bubbles
Look for blisters or bubbles in the roofing material, which may indicate trapped moisture and potential areas of weakness. These issues need to be addressed promptly to prevent further damage to the roof that may lead to a flat roof replacement down the road.
Once you’ve identified any problem areas, you can proceed with the appropriate repair method.
Now that you know what to look for, let’s go over 5 key ways to repair your flat roof.
1. Patching Leaks with Roofing Cement
One of the most common issues with flat roofs is leaks, which can often be patched using roofing cement. Here’s how to do it:
- Clean the area around the leak thoroughly to ensure proper adhesion.
- Apply roofing cement generously to the damaged area, spreading it evenly with a trowel or putty knife.
- Press a patch of roofing fabric into the wet cement, ensuring that it overlaps the damaged area by at least 2 inches on all sides.
- Apply another layer of roofing cement over the patch, smoothing it out to create a watertight seal.
- Allow the patch to dry completely before testing for leaks.
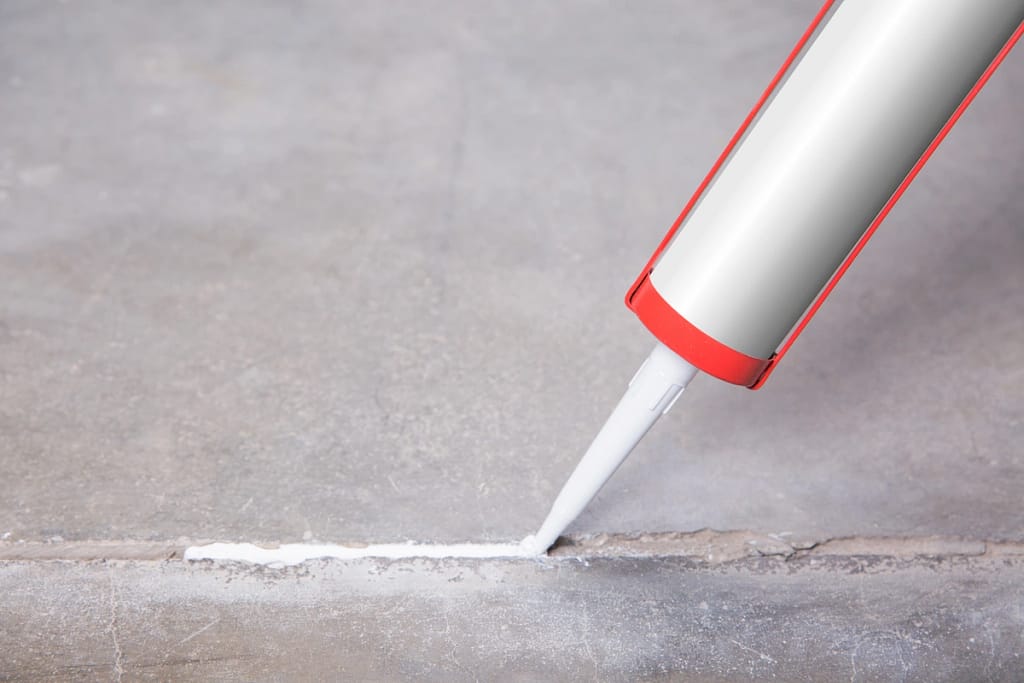
2. Sealing Cracks with Roof Sealant

Cracks in the roofing material can allow water to seep into your home, leading to damage and mold growth. Here’s how to seal cracks using roof sealant:
- Clean the area around the crack thoroughly to remove any debris or loose material.
- Apply a liberal amount of roof sealant to the crack, ensuring that it fills the entire gap.
- Use a putty knife or caulking gun to smooth out the sealant and create a seamless finish.
- Allow the sealant to dry completely before checking for leaks.
3. Replacing Damaged Flashing
Flashing is used to waterproof areas where the roof meets vertical surfaces such as walls or chimneys. If the flashing becomes damaged or loose, it can compromise the integrity of your roof. Here’s how to replace damaged flashing in true DIY fashion (although you can always call on a professional roofing contractor if you begin to feel uneasy!).
- Remove the old flashing using a pry bar or screwdriver, taking care not to damage the surrounding roofing material.
- Cut a piece of new flashing to fit the area, ensuring that it extends at least 4 inches beyond the damaged area on all sides.
- Apply roofing cement to the underside of the new flashing and press it into place.
- Secure the flashing with roofing nails or screws, making sure to drive them flush with the surface.
- Apply a bead of roof sealant along the edges of the flashing to create a watertight seal.
4. Clearing Debris from Drains and Gutters

Clogged drains and gutters can prevent water from draining properly off your roof, leading to ponding water and potential leaks. Here’s how to clear debris from drains and gutters:
- Use a ladder to access the roof safely, and inspect the drains and gutters for any blockages.
- Use a trowel or scoop to remove leaves, twigs, and other debris from the drains and gutters.
- Flush the drains and gutters with water to ensure that they are clear of any remaining debris.
- Install gutter guards or screens to prevent future buildup and reduce the need for frequent cleaning.
5. Applying Roof Coating for Protection
Roof coatings can help extend the lifespan of your flat roof by providing an extra layer of protection against UV rays, water damage, and thermal expansion. Here’s how to apply roof coating:
- Clean the surface of your roof thoroughly to remove any dirt, debris, or loose material.
- Apply a primer coat to the entire roof surface using a sprayer or roller, following the manufacturer’s instructions.
- Allow the primer coat to dry completely before applying the roof coating.
- Apply the roof coating evenly over the entire surface of the roof, using a sprayer or roller.
- Allow the roof coating to dry completely before subjecting it to foot traffic or adverse weather conditions.
Tackle Flat Roof Repair Like a Real Pro
With these five DIY methods for flat roof repairs, you can take on common issues and extend the lifespan of your roofing system without breaking the bank. Remember to always prioritize safety when working on your roof, and if you’re ever unsure about a repair, don’t hesitate to contact a professional roofer for assistance. By taking proactive steps to maintain your flat roof, you can ensure that it continues to protect your home for years to come.
Reach out to our expert roofers at Premiere Roofing & Gutters today and we’ll ensure you have a roof that’s resilient and beautiful for years to come. We can’t wait to answer your questions and hear about your vision for your next roofing project!


